
Basic Configuration
Service Settings
This allows you to configure the frequency at which WinBIND will check for new logs and upload them to your SQL Server. The default setting is to run every ten minutes but you can configure this to be anything from every minute to once per day. I don’t recommend every minute – that may not give the service enough time to complete a full cycle, especially on the Designated Master.
Logfile Settings
This allows you to to configure how the BIND log files will be handled. It’s important to note that this requires BIND logging to be configured as described in one of the BIND for Windows guides elsewhere on this site. If not then WinBIND won’t understand the logfile format and this will produce unexpected results – the most likely of which will be that the logfiles will simply fail to be uploaded to your SQL Server.
WinBIND automatically creates an archive folder within your BIND logs folder, and it archives the querylog to that folder during its first run after midnight every day. If you tick Compress archived log files then WinBIND will first check to see whether you have the free 7-Zip software installed. If so then WinBIND will compress those archived logfiles to save space.
You can also choose to flush (clear down) the Auth Servers and the Rate Limiting log file on a daily basis. These logs don’t typically have much use beyond a 24 hour period, and again they will be compressed using 7-Zip if Compress archived log files is ticked.
Server Settings
This allows you to change the server operating as the Designated Master. See the Advanced Features section for more information on this. The Designated Master will normally be your primary name server, but it doesn’t have to be. If you’d like it to be a different name server then simply run WinBIND on that name server and tick this box.
Active Refresh & DNS DDoS Firewall Protection
These topics are covered in Advanced Features
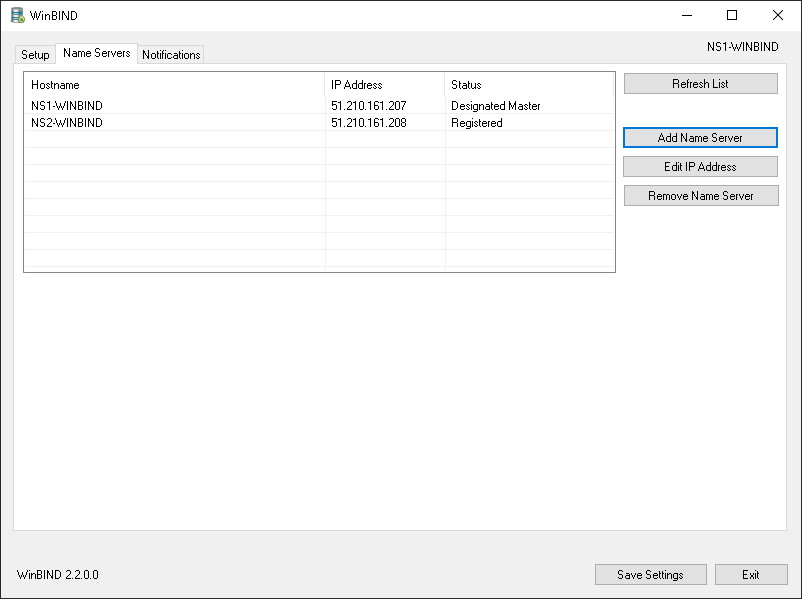
The Name Servers tab
The Name Servers tab shows you a list of all Name Servers “registered” with this installation. It shows their hostname, IP address, and which one is the Designated Master. The purpose of this tab is to allow you to correct the IP address for a Registered Name Server, or to add & remove name servers (if necessary, for example after an uninstallation).
The Hostname will be used in the upcoming Reports module to show reports of name server statistics by a friendly hostname rather than an IP address.
You can now move on to either Advanced Features, Notifications, or Reports.
Support & Feedback
If you have any problems, if you get any error messages, or if you have any other feedback then please get in touch – I really do want to hear from you!