
Download & Installation
Download the latest version of WinBIND from here
Create a database on your SQL server for WinBIND (eg simply “WinBIND“), along with a SQL user account that will be used by the WinBIND service on each name server. This user account needs “db_owner” rights since WinBIND will use it to create the necessary tables, indexes and stored procedures when it runs for the first time on the first name server.
WinBIND uses some complex SQL queries and stored procedures for two of its most advanced features: Active Blacklist and Active Refresh. We don’t want to run those queries every ten minutes on every name server so we pick just one name server on which to run them. This name server is called the Designated Master and it manages the Active Blacklist table used by all other name servers, as well as being responsible for running the Active Refresh routine against all configured name servers. The Designated Master is normally your primary name server, but it doesn’t have to be.
Run the installer on whichever name server you’d like to be the Designated Master. So that’s normally your primary name server.
The installation routine will create a Desktop shortcut for WinBIND Control and will offer to start this once the installer has finished.
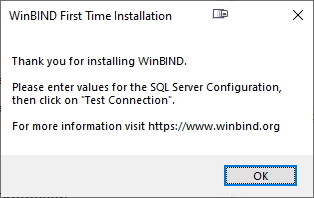
When you start WinBIND Control for the first time it will detect that this is a new installation and will prompt you to configure SQL Server connection details:
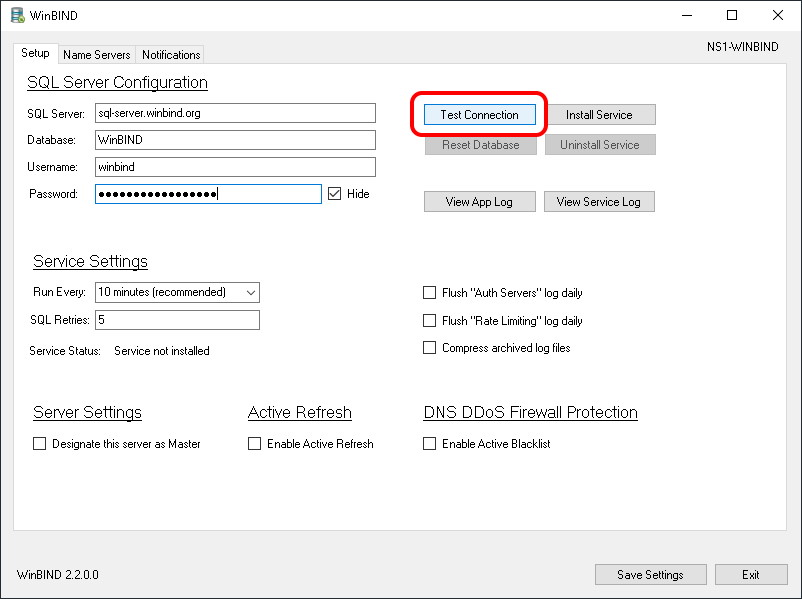
Click OK and you’ll be taken to the main Setup screen:
Enter the SQL Server connection details then click on the Test Connection button:
WinBIND will now attempt to connect to your SQL Server using the credentials you provided. If successful it will offer to setup the database for you:
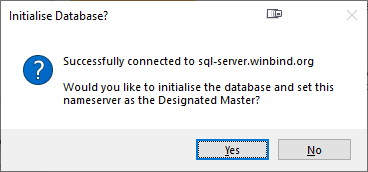
Click on Yes and if everything goes OK you should see the following message:

If your name server has more than one IP address (e.g. if it’s multi-homed, or if it’s running any network virtualisation software) then it’s possible that WinBIND may have detected the wrong local IP address. Click on OK and then select the Name Servers tab. Make sure that the IP Address shows the correct value for this name server. If it’s wrong then simply select it in the list and click on Edit IP Address to correct it.
A note on logfile formats
Before installing the WinBIND service please take a moment to ensure that your BIND logs are configured as detailed here. If this isn’t done then WinBIND won’t understand the structure of your query logs thus it won’t be able to upload them to your SQL server either.
Installing and Starting the WinBIND service
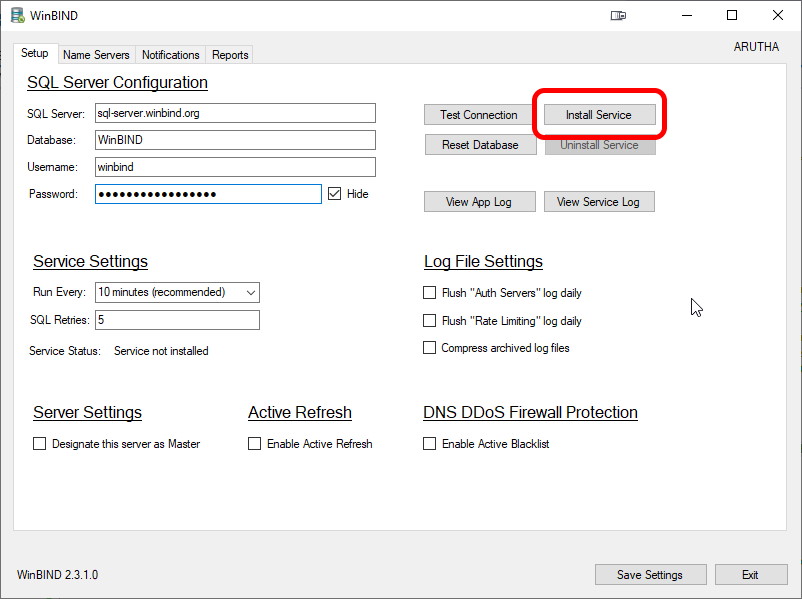
Now that you’ve successfully configured the SQL Server settings we need to install and start the WinBIND service. This is the service that runs in the background, automatically uploading the BIND log files to your SQL Server and running the Active Blacklist & Active Refresh routines.
Select the Setup tab and click on Install Service:
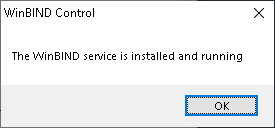
If all goes well you’ll see a black command window quickly popup and disappear, followed by a success message:
If you get an error message then click on the View App Log button to see what went wrong, or contact me and I’ll be happy to try and help.
You can now move on to either Configuration or Installation on each additional name server
Support & Feedback
If you have any problems, if you get any error messages, or if you have any other feedback then please get in touch – I really do want to hear from you!